【無料あり】画像・PDF・写真から文字起こし・テキスト化するOCRアプリおすすめ7選
Transcribe Video & Add Subtitles to MP4 Files Easily
June 8, 2025


Adding subtitles to videos is so much work...!
Don't worry, there's an easy way to edit them!

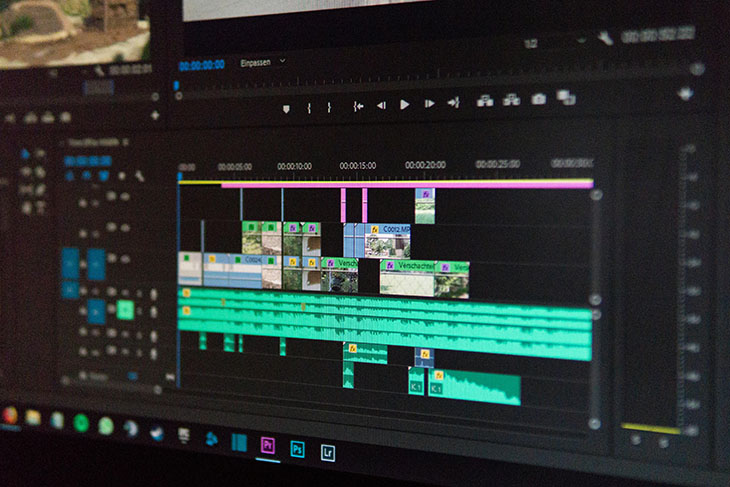
For video creators, adding subtitles or captions can be a real hassle.
Typing out text and setting start and end times is usually more time-consuming than simply editing and combining video footage.
But what if that subtitle creation process could be automated...?
In fact, using the latest AI technology, you can automate the most tedious subtitle-related tasks.
The method is simple: just upload your MP4 file created for YouTube to an AI transcription service.
By eliminating the need for the most cumbersome work, you can cut down the time spent on video editing by more than half.
This article explains the process of transcribing MP4 files from video sites like YouTube into text and adding subtitles.
We'll also cover specific operating procedures for the two major video editing software, Adobe Premiere and DaVinci Resolve. Why not use this as a reference to add subtitles to your videos?
How to Transcribe Videos and Add Subtitles (Supports YouTube MP4 Videos!)
For those who create videos for work or hobbies, or YouTubers, one of the most tedious tasks is adding subtitles.
Actually, with the latest AI, you can easily add subtitles by transcribing your video.
Steps to Add Subtitles to a Video
If you upload videos to sites like YouTube, you're likely using video editing software such as Adobe Premiere or DaVinci Resolve for editing.
The truth is, both of these software programs support importing subtitle files like "SRT files", so you don't have to manually type in subtitles yourself. You can automatically add subtitles just by importing the content of a subtitle file.

I didn't know this, so I've been manually adding subtitles all this time...
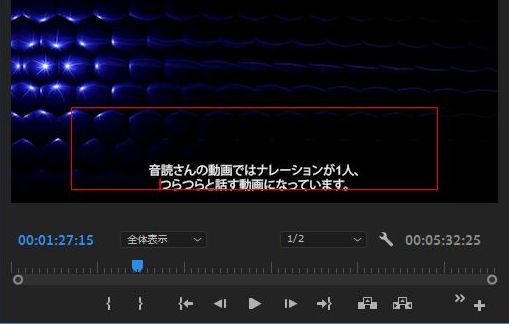
Previous Workflow (Manual Input)
Until now, it was necessary to manually add subtitle text like this.
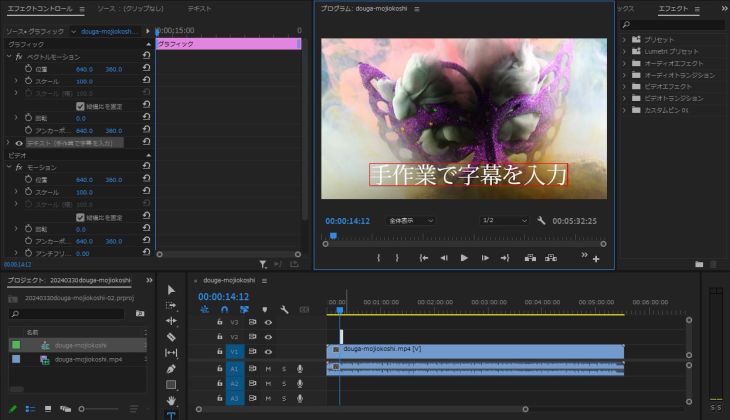
For each subtitle, you needed to:
- Enter the subtitle text
- Set the start and end times
This process made video editing very long.
it took a long time.
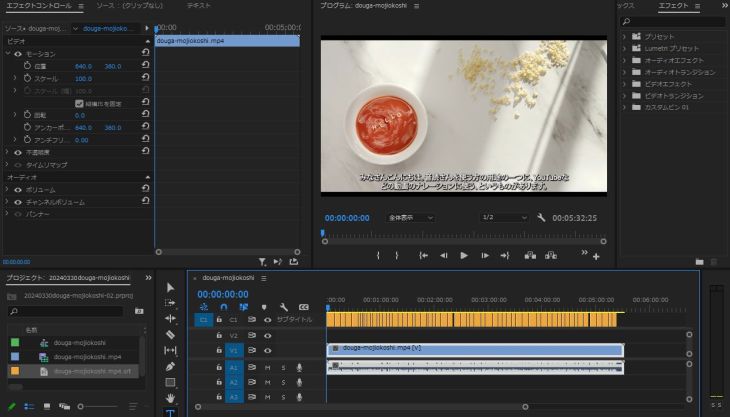
Future Workflow (Using AI Transcription Service)
But from now on, such work is unnecessary!
By simply importing the AI-transcribed subtitle text, you can instantly add subtitles from the beginning to the end of your video!
Adding subtitles or captions was a particularly time-consuming task in video editing.
By using an AI transcription tool, it's possible to cut down video editing time by more than half.
Why not dramatically streamline your video editing with an AI transcription tool?
For Video Subtitle Transcription, Choose "Mojiokoshi-san"
For subtitle creation, "Mojiokoshi-san" is highly recommended!
"Mojiokoshi-san" is an AI transcription tool recommended for creating video subtitle text.
By using the latest speech recognition AI, it creates high-quality subtitle text quickly.
Moreover, since you can directly upload and import video files, there's no need to create separate audio files for subtitle creation.
It supports a wide range of uploadable file formats:
- .mp4
- .mov
- .avi
- .flv
- .mkv
- .webm
- .wmv
- .3gp
It supports all these major video file formats.
You can transcribe directly from YouTube MP4 videos or from MOV files of videos shot with an iPhone.
Furthermore, it supports 100 languages, including Japanese and English (using the "PerfectVoice" speech recognition AI), so you can:
Transcribe in a foreign language → AI translate to Japanese to create subtitles
This kind of usage is also possible.
Additionally, "Mojiokoshi-san" allows free use for up to 1 minute without registration or login!
With "Mojiokoshi-san," the AI transcription tool that caters to video editors' every need, why not boost your video views?
How to Create Subtitle Files from YouTube MP4 Videos
Here, we will specifically explain the process of transcribing subtitle text files from YouTube MP4 files using the AI transcription service "Mojiokoshi-san."
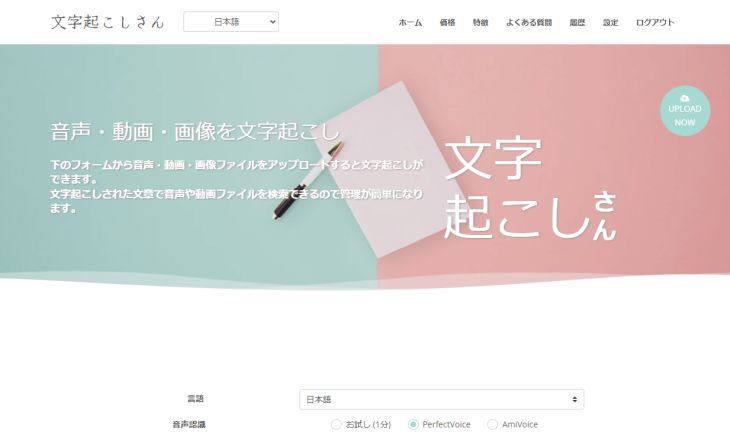
1. Open the "Mojiokoshi-san" Top Page
The AI transcription service "Mojiokoshi-san" is a web-based service.
Video uploads are done from the top page.
Click here for the "Mojiokoshi-san" top page
It can be used from any environment, such as Windows/Mac computers or iPhone/Android smartphones, as long as there is an internet connection.
2. Upload Your Video
Drag and drop your video into the area labeled "Drag files here" or click "Select" to choose your file.
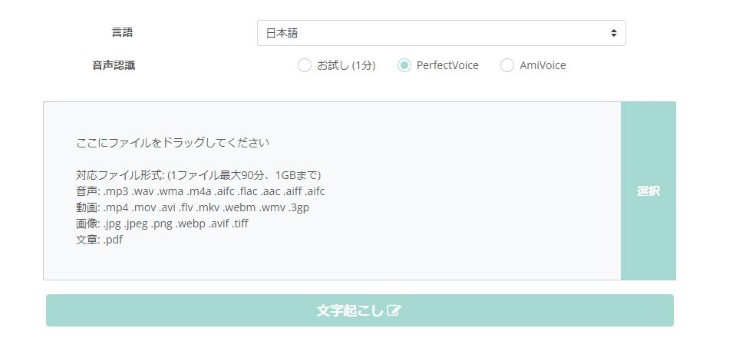
Then, the file upload will automatically begin.
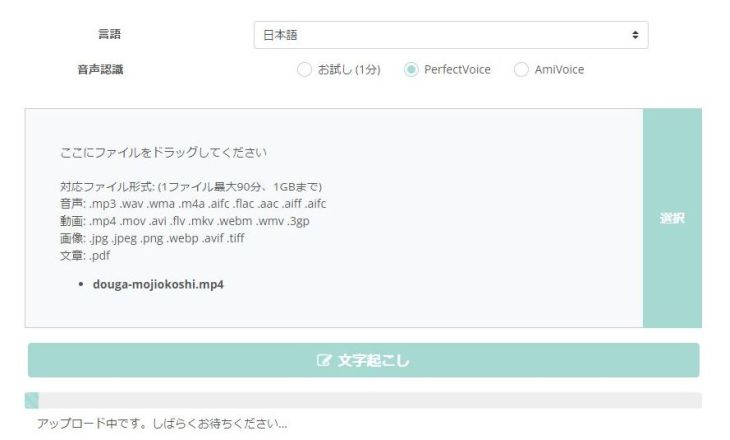
This time, we uploaded an MP4 file encoded for YouTube.
3. Start Transcription Process to Subtitle Text
3>Once the video file (in this case, an MP4 file) has finished uploading, the transcription process will automatically begin.
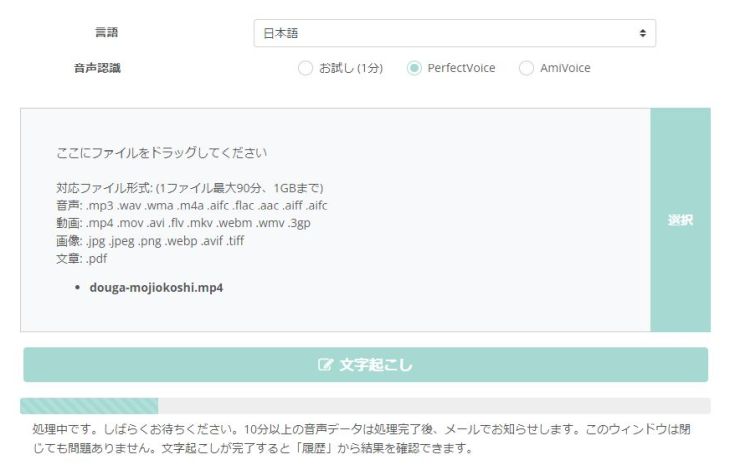
Once this status appears, you can close your browser window.
You will be notified by email when the subtitle text transcription is complete.
(Of course, you can also keep the screen open.)
4. Transcription Complete
Once the transcription is finished, you can review the transcribed text.
If you closed the screen after uploading, click "History" in the menu,
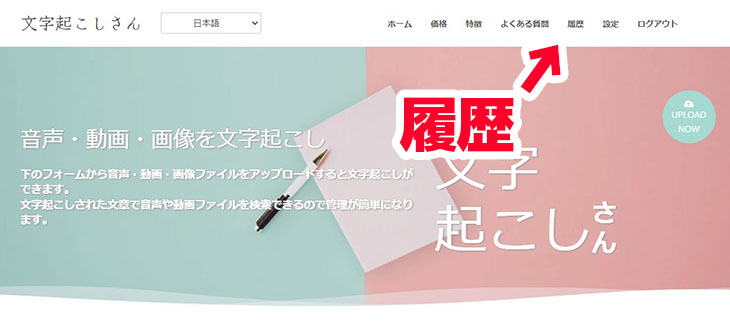
and open the "Transcription History" page.
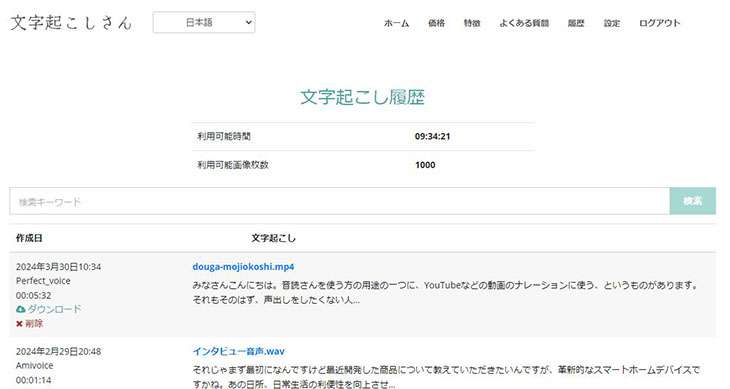
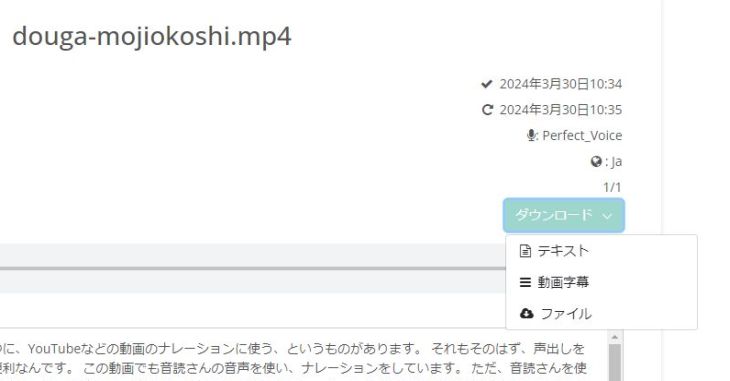
On this screen, click on the file name (in this case, "douga-mojiokoshi.mp4"),
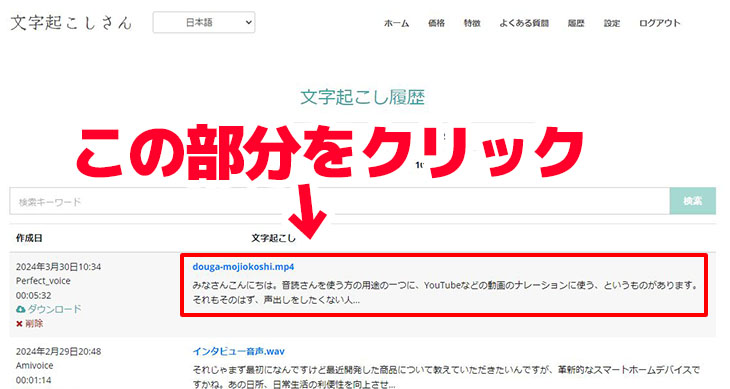
to open the details screen as shown.
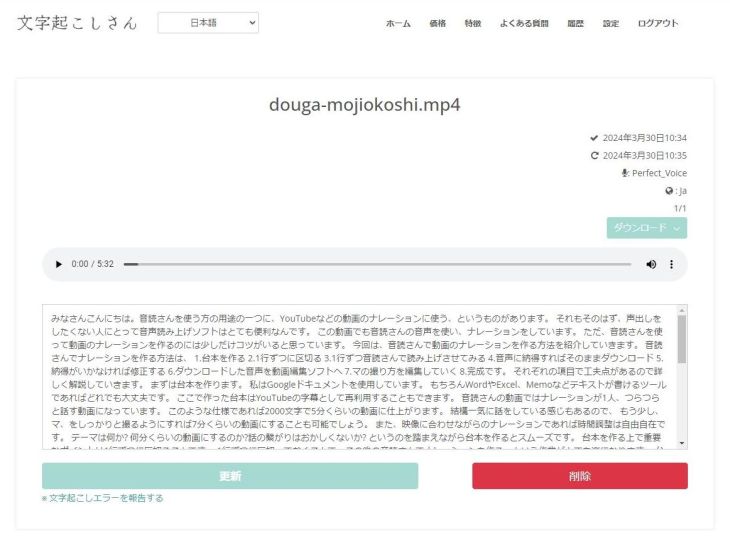
You can download the subtitle file by clicking "Video Subtitles" from the menu that appears when you press the "Download" button.
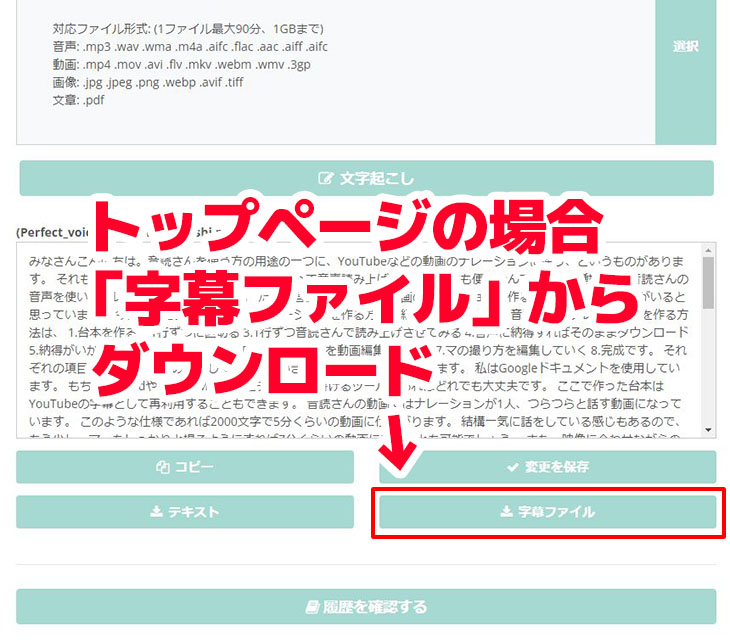
Alternatively, if you kept the top page open after uploading, the transcription results will be displayed directly on the top page.
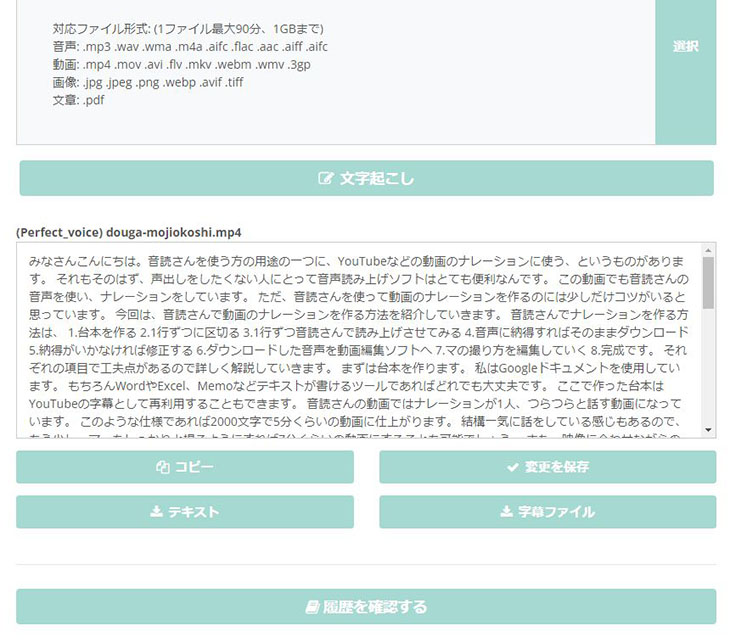
In this case, you can download it by pressing the "Subtitle File" button.
This completes the subtitle transcription process.
About 'Mojiokoshi-san' Subtitle Files
The file name will be "uploaded_file_name.srt".
For example, in this case, it would be douga-mojiokoshi.mp4.srt.
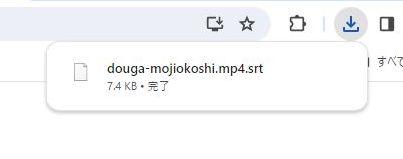
The subtitle file format is an SRT file.
SRT files are a widely used file format for video subtitle text, and their content is a text file containing time codes and sentences, as shown below.
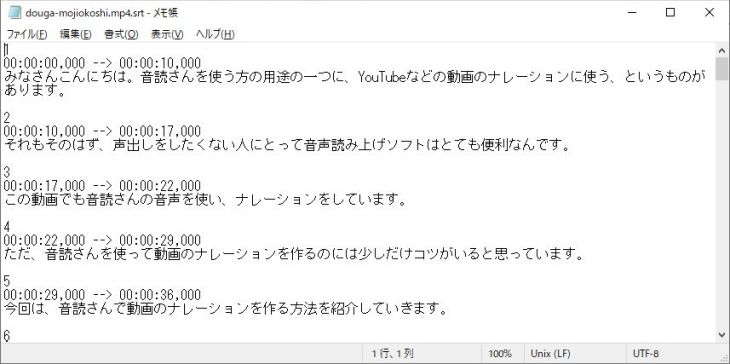
Since video editing software like Adobe Premiere and DaVinci Resolve, as well as YouTube's subtitle feature, support SRT files, you can automatically add subtitle text by simply importing this subtitle file.
※Even if you edit the content on the Mojiokoshi-san webpage, the edited content will not be reflected in the subtitle file.
If you wish to edit the subtitle content, download the subtitle file and use a text editor.
or edit directly using apps like Notepad.
How to Add Subtitles to Videos from a Subtitle File in Adobe Premiere
Next, we will explain how to add subtitles using "Adobe Premiere" and "DaVinci Resolve," which are widely used by video editors.
First, let's look at "Adobe Premiere."
※This guide uses Adobe Premiere 23.6.0.
1. Open the Project
First, open the project to which you want to add subtitles.

In this example, only the video footage is loaded, with no subtitles or captions whatsoever.
2. Import the Subtitle File (SRT File) as Media
Import the SRT file of the transcribed subtitle text as media into the "Project" panel.
You can drag and drop the SRT file, or
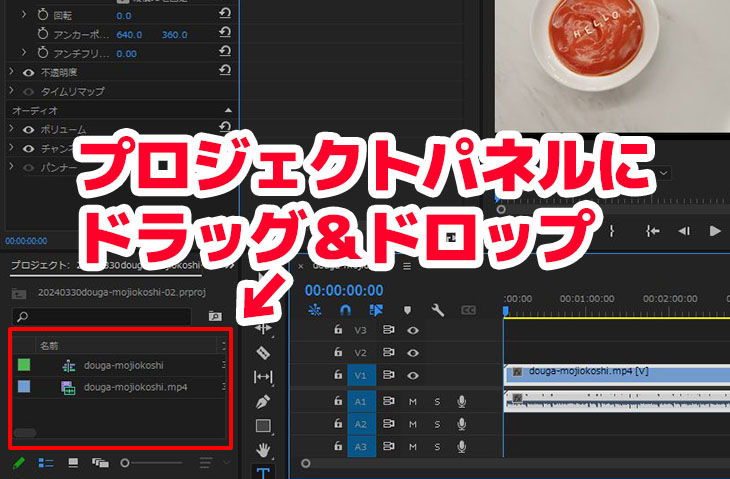
import it from the menu: "File" → "Import."

※This is the same process as importing other media like videos or audio.
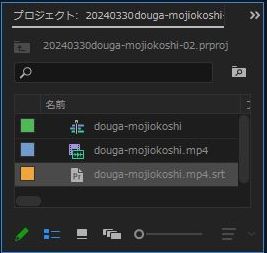
The SRT file has now been imported, as shown.
3. Load the Subtitle File onto the Timeline
Drag and drop the SRT file onto the timeline.
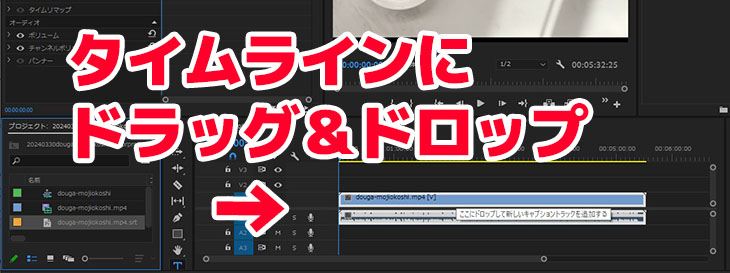
A dialog box titled "New Caption Track" will appear. Click "OK."
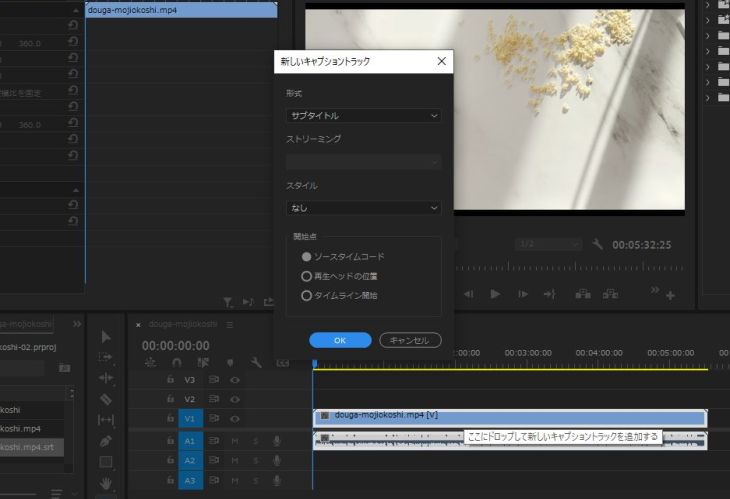
The subtitle text will be automatically loaded, as shown.
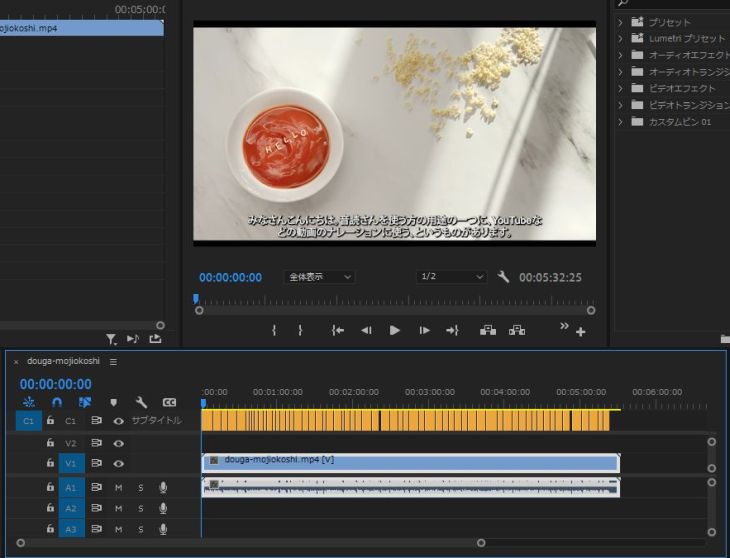
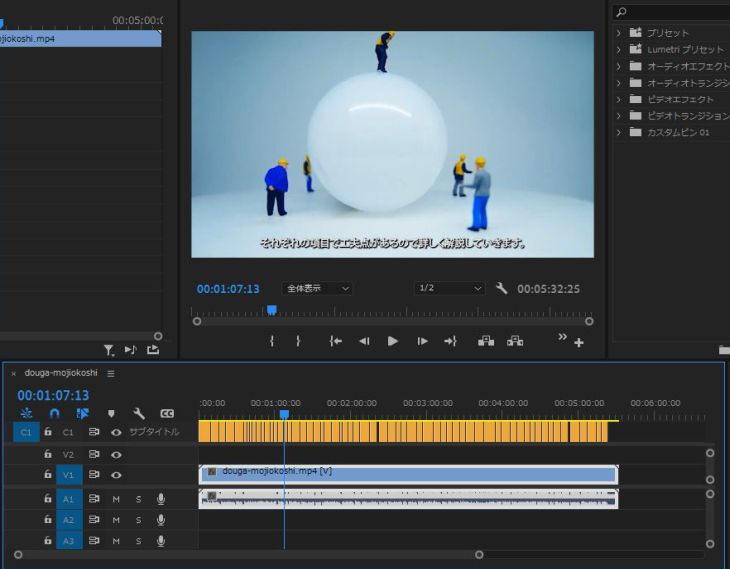
If you press the play button to check, you'll see that the subtitles are perfectly set throughout the entire video.
Of course, you can also edit the duration,
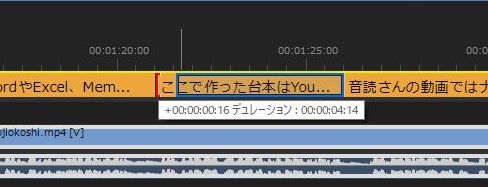
or edit the text content.
4. Encode
All that's left is to encode it into an MP4 file for YouTube.
This completes the process of adding subtitles to a video for YouTube MP4 using Adobe Premiere.
How to Add Subtitles to Videos from a Subtitle File in DaVinci Resolve
Next, we will explain how to add subtitles to a YouTube MP4 file using "DaVinci Resolve," another widely used video editing software alongside Adobe Premiere.
※This guide uses DaVinci Resolve 18.1.1.
1. Open the Project
First, open the project to which you want to add subtitles.
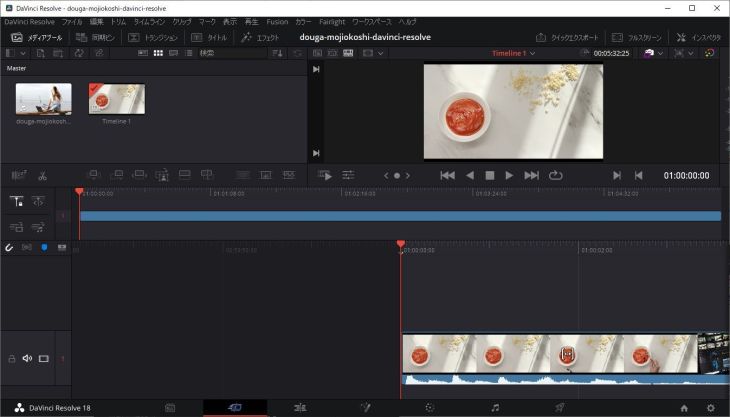
The video footage (mp4 file) has been loaded, but there are no subtitles or captions attached.
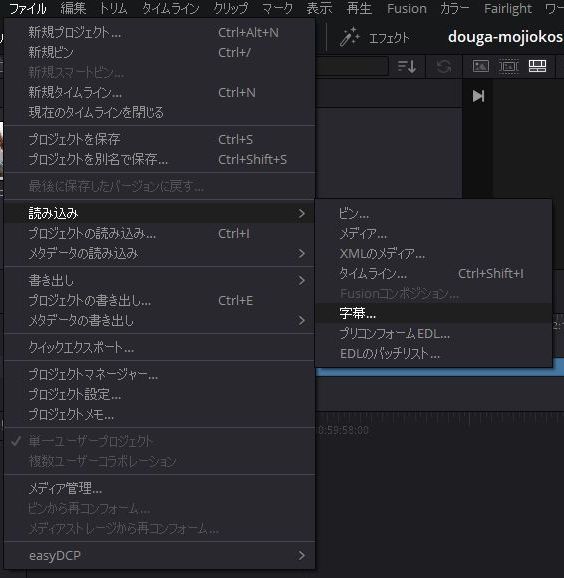
2. Add Subtitle File (SRT File) to Media Pool
Add the SRT file containing the subtitle text to the media pool.
You can either drag and drop it,
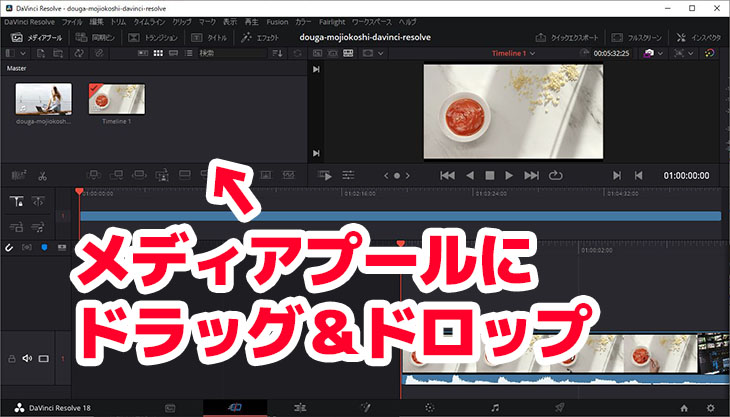
or add it by going to "File" → "Import" → "Subtitle".
3. Drag and Drop Subtitles
Drag and drop the SRT file to insert the subtitles.
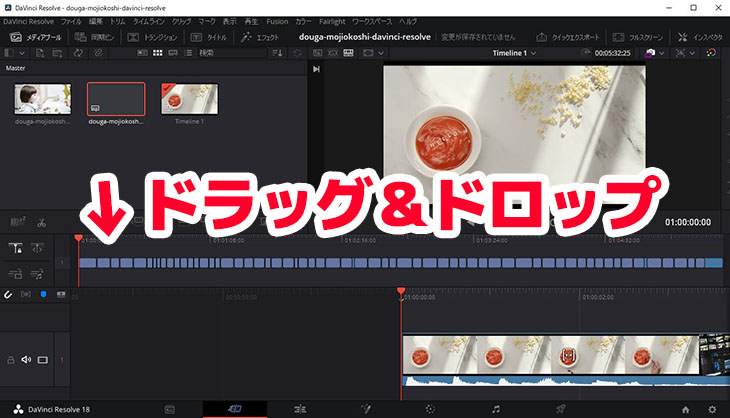
As you can see, the subtitles are now displayed above the video footage.
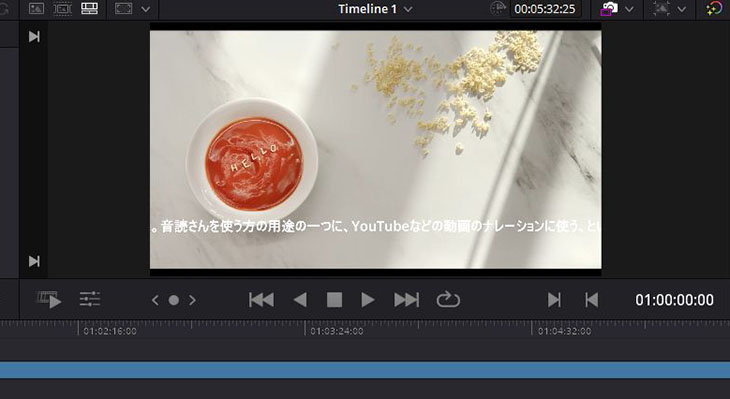
4. Adjust Subtitles
However, unlike Adobe Premiere, DaVinci Resolve requires subtitle adjustment.
For example, in this case, the left and right sides of the subtitles are cut off.
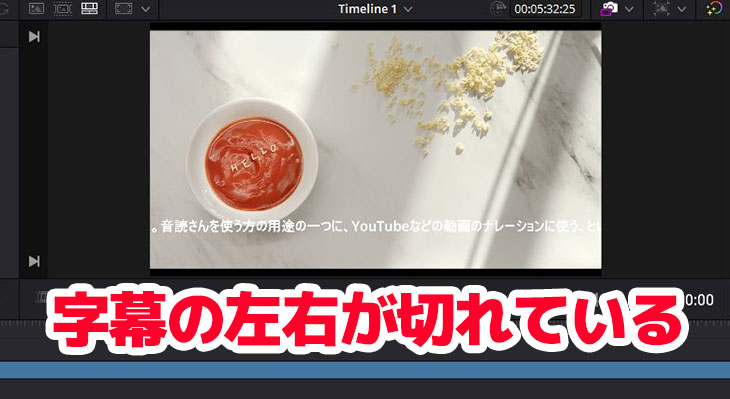
Before encoding to an mp4 file for YouTube or other formats, you need to arrange the subtitles and stylize the text.
5. Encode
Once the subtitle adjustments are complete, encode the video in its final format, such as MP4.
This completes the process of adding subtitles in DaVinci Resolve.
[Reference] How to Add Subtitles to Videos Already Uploaded to YouTube
This article explains how to add subtitles from an SRT file to an MP4 video already uploaded to YouTube using YouTube's subtitle feature.
Please take a look.
Want to Increase Your Video Views with Subtitles?
As you can see, adding subtitle text to MP4 files for YouTube is very easy.
With the AI transcription service "Mojiokoshi-san," you can simply upload your MP4 file and get the subtitle text instantly.
By adding subtitles to your videos, you can gain more viewers and increase watch time.
Furthermore, transcribing your videos makes it easy to translate them into foreign languages, allowing you to add foreign language subtitles and attract viewers from overseas.
Why not use the AI transcription service "Mojiokoshi-san" to get your videos seen by even more people?
■ AI transcription service "Mr. Transscription"
"Mr. Transcription" is an online transcription tool that can be used from zero initial cost and 1,000 yen per month (* free version available).
- Supports more than 20 file formats such as audio, video, and images
- Can be used from both PC and smartphone
- Supports technical terms such as medical care, IT, and long-term care
- Supports creation of subtitle files and speaker separation
- Supports transcription in approximately 100 languages including English, Chinese, Japanese, Korean, German, French, Italian, etc.
To use it, just upload the audio file from the site. Transcription text is available in seconds to tens of minutes.
You can use it for free if you transcribe it for up to 10 minutes, so please try it once.
It is "Mr. Transcription" who can easily transcribe from audio, video, and images.
Transcription allows you to transcribe for up to 10 minutes for free.
You can copy, download, search, delete, etc. the transcribed text.
You can also create subtitle files, which is ideal for transcription of interview videos.
HP: mojiokoshi3.com
Email: mojiokoshi3.com@gmail.com
Email: mojiokoshi3.com@gmail.com
|
Related article
Transcription for audio / video / image transcription. It is a transcription service that anyone can use for free without installation.
- What is Mr. Transcription?
- Transcript images, sounds, and videos with Mr. Transcription
- Free registration
- Rate plan
- manual